
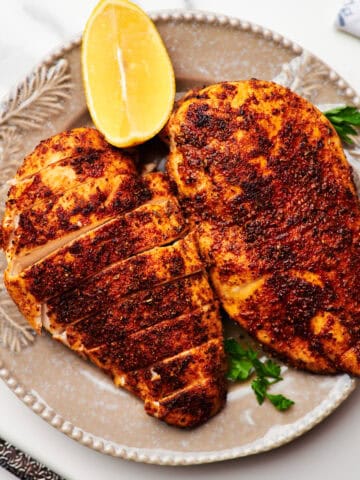
This Pan-Seared Chicken Breast recipe consistently produces deliciously moist chicken on the stovetop, so bid adieu to dry chicken. The basics of a good pan sauce is to gather all the flavors left in the bottom of a skillet used for sautéing a piece of chicken, steak, pork or fish by deglazing with an acidic ingredient or liquid and simmering for just a few minutes until you have a sauce-like consistency.
Ingredient Notes
- Chicken breast: Thin chicken breasts cook evenly and quickly, making it easier to develop a golden crust without overcooking the inside.
- Olive oil: An oil with a high-smoke point, like olive oil or avocado oil, is ideal for pan-frying chicken over high heat.
- Flour: A simple flour dredge lends both flavor and texture to otherwise bland chicken breasts.
- Spices and seasonings: A mixture of garlic powder, smoked paprika, onion powder, oregano, salt, black pepper, and a pinch of cayenne gives the chicken a succulent, savory flavor with a kick.
- Butter: The chicken is finished with butter for moisture, flavor, and to enhance the color of the golden crust.
How to Cook Chicken on the Stove
- Prep the chicken. Slice the chicken breasts in half to make them smaller (you can skip this if the breasts are already small). This helps them cook evenly and quickly. Next, dry each half well with a paper towel.
- Season the chicken. After you've pounded the chicken, season it liberally with salt, pepper and garlic powder.
- Mix the chicken coating. In a large bowl, combine flour, salt, pepper, garlic powder, onion powder, and Italian seasoning. Stir to blend evenly.
- Heat the pan. Warm 2 tablespoons of olive oil in your skillet over medium-high heat until hot but not smoking.
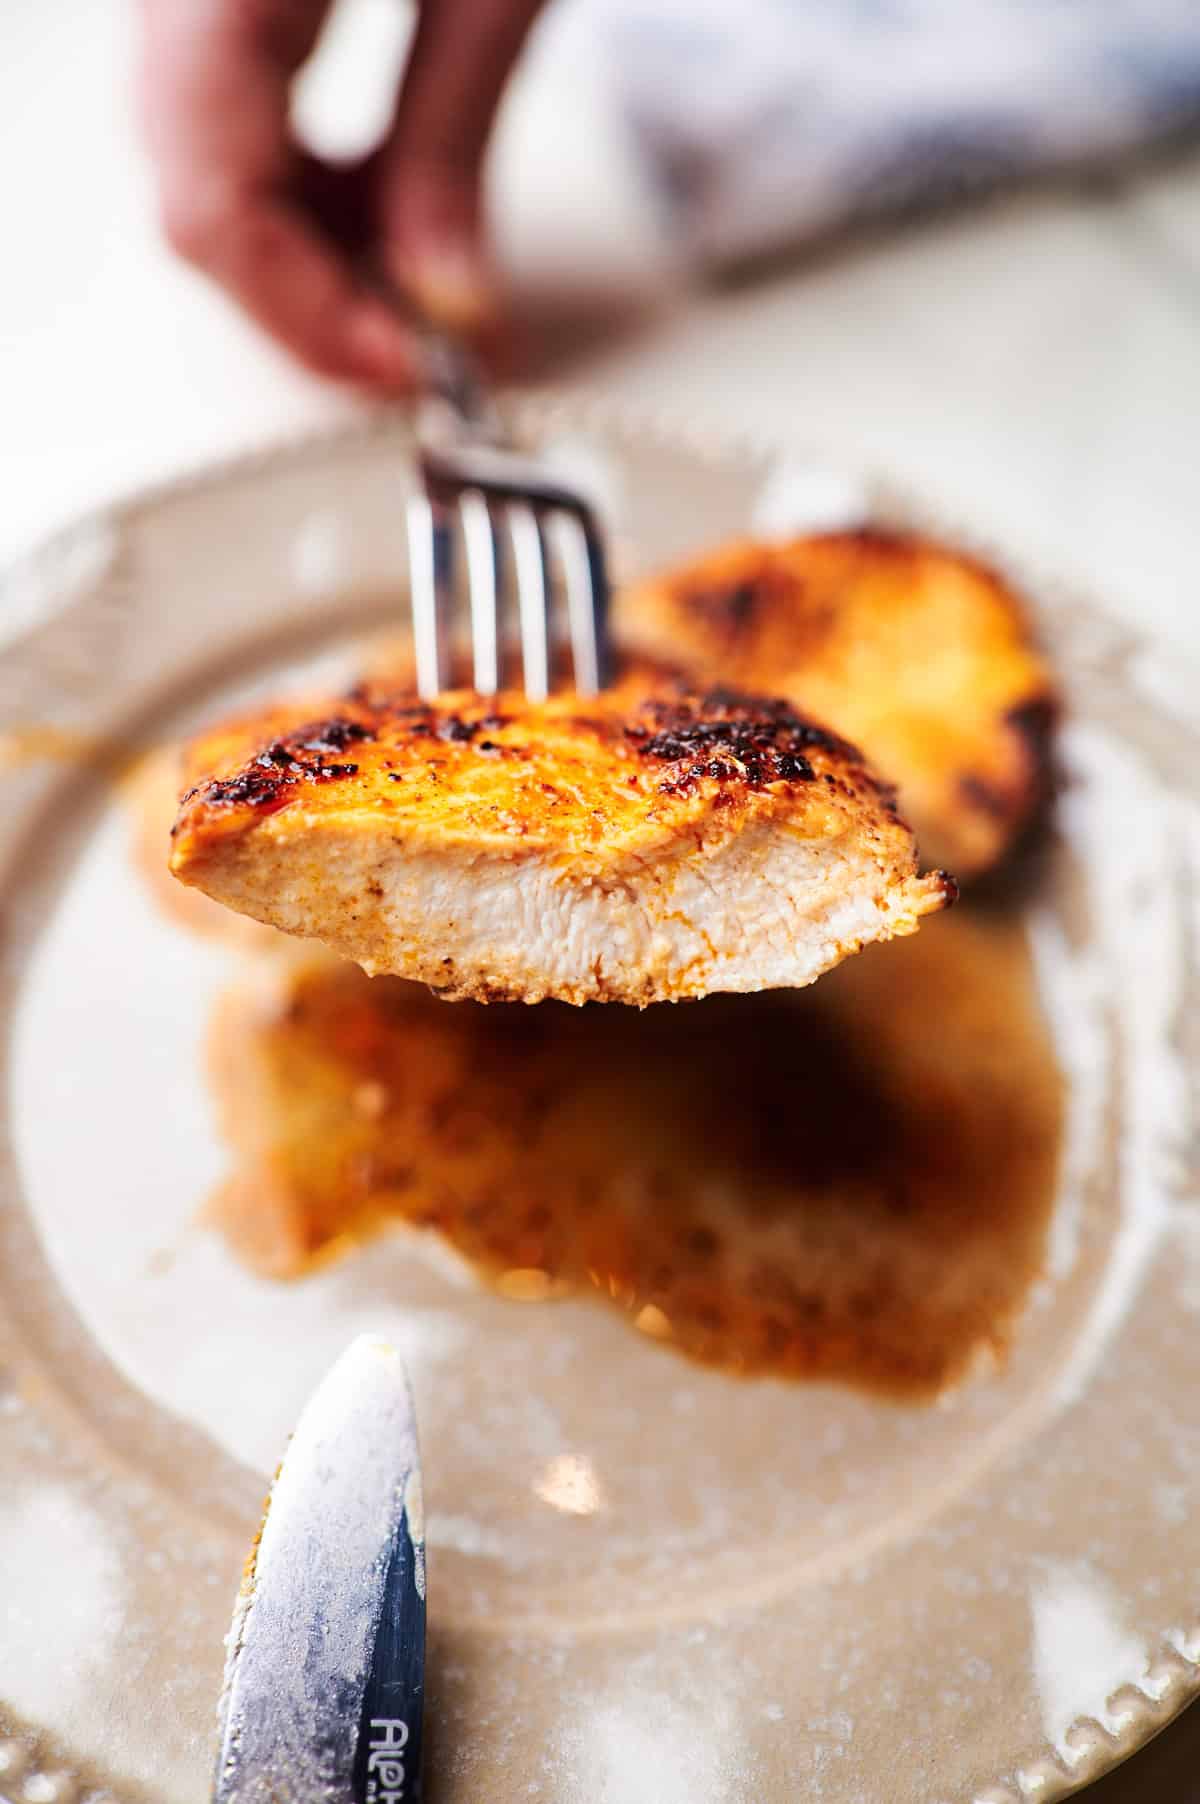
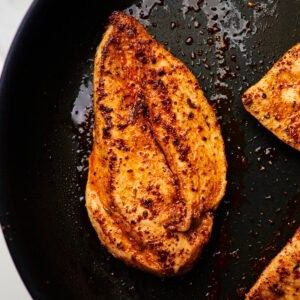
- Cook the chicken. Place coated chicken breasts in the skillet and cook for 4 to 5 minutes without moving them. Flip once and cook for another 4 to 5 minutes until golden brown and fully cooked through. Internal temperature should reach 165°F (74°C).
- Add butter and rest. Add the butter to the skillet, then remove the skillet from the heat. Let the breasts absorb the butter in the skillet before transferring the pieces to a cutting board to rest.
Tips for Success
- Pound for even browning. To help achieve an evenly browned sear, you can pound the chicken breasts to an even 1-inch thickness first. Cover the pieces with plastic wrap and pound with a meat mallet until they're evenly flattened.
- Don't fuss with the chicken. Don't fuss with the chicken or move it around once it's in the hot pan. If the chicken doesn't effortlessly turn over, it isn't ready to be flipped!
- Avoid overcrowding the skillet. Make sure you do not over-crowd the pan. If you have too many chicken breasts in the pan and not enough surface area around each one, moisture from the chicken breast will accumulate in the bottom of the pan and that moisture will inhibit browning.
- Leave the skillet uncovered. Leave the skillet uncovered. If you cover it, the chicken will steam instead of sear.
- Flip the chicken only once. Flip the chicken only once to retain crispiness.
Gluten-Free and Alternative Flour Options
Dredge the breasts in a thin layer of all-purpose flour combined with the seasonings for extra crispy fried chicken. You can also use potato starch, rice flour, almond flour, or a gluten-free flour blend.
Serving Suggestions
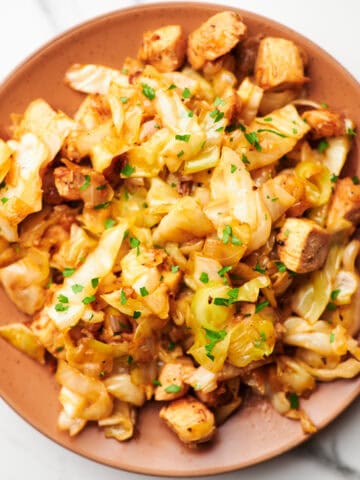
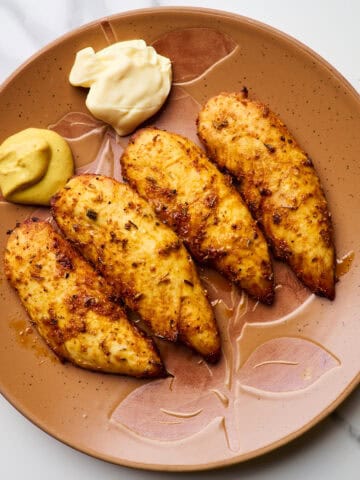
The pan-fried chicken can be served as a quick main course or as a filling addition to any salad or grain bowl. Slice over rice, grain bowls, or fresh avocado tomato salad. For added taste, drizzle with mustard-wine sauce, balsamic glaze, or herb butter.
Storage
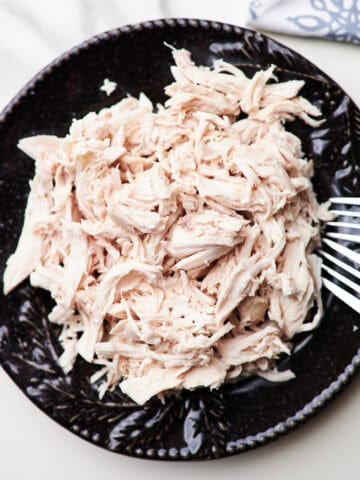
- Refrigerator: Chicken breasts are the juiciest when enjoyed fresh, but the leftovers can be kept in an airtight container in the fridge for 2 to 3 days. Freeze the chicken in freezer bags or airtight containers for extended storage. To prevent freezer burn, securely wrap the chicken in foil or plastic wrap before putting it in the bag or container. The flavor and texture of frozen pan-seared chicken can be preserved for up to three months.
- Reheating: To reheat chicken without drying it out, warm it with a bit of chicken broth in a covered hot skillet or a covered baking dish in a 300ºF oven. To keep the chicken moist while it reheats, both methods gently steam it.
FAQs
The size of your chicken breasts will determine how long it takes. They should only need five minutes per side if they are sliced into smaller pieces that are one inch thick. It will take more than seven minutes per side for thicker chicken breasts.
The best way to tell if a chicken breast is done cooking is to use a meat thermometer. Poultry is safe to eat when the internal temperature reaches 165ºF, but I suggest removing it from the skillet when it's between 160ºF to 163ºF, as the temperature will continue to rise as the meat rests.
Sure, but modify your approach. Finish in the oven after searing in the pan. For bone-in cuts to cook through properly, extra time is required.
Ensure the skillet and oil are fully heated before adding chicken. Avoid moving the chicken for 4-8 minutes to allow for a good sear (it will release naturally when browned).
Overcooking is the most common issue. Thin breasts cook faster, ideally just 4-5 minutes per side on medium heat, while thicker ones need 8 minutes per side on medium-low. Always use an instant-read thermometer, stop cooking as soon as the center hits 165ºF for juicy results.
Yes! Cook, slice, and refrigerate for up to 3-4 days. Great for salads, pasta, or bowls.
More Easy Chicken Recipes
- 10 Minute Copycat Taco Bell Chicken
- QuesadillaMayonnaise Parmesan
- ChickenBlackstone Chicken (Easy Griddle Recipe)
- Crispy Honey Chicken
- Buffalo Wild Wings CrockPot Garlic Parmesan Chicken Pasta Recipe
- Crockpot Garlic Parmesan Chicken and Potatoes
- Greek Yogurt Marinated Chicken
- The Best Crispy Chicken Parmesan
- 30-Minute Grilled Buffalo Chicken
- Oven Baked Juicy Panko Chicken
- Easy Oven Baked Chicken Cutlets
- The BEST Baked Chicken Breast (Juicy!)
Pan-Seared Chicken Breast
INGREDIENTS
- 2 large chicken breasts sliced in half lengthways, or use 4 small boneless skinless breasts
- 3 tablespoon olive oil divided
- ¾ teaspoon garlic powder
- ¾ teaspoon smoked paprika
- ¾ teaspoon onion powder
- ¾ teaspoon dried oregano
- ¾ teaspoon salt
- ¼ teaspoon black pepper
- ¼ teaspoon cayenne pepper
- 2 tablespoon butter
INSTRUCTIONS
- If your chicken breasts are large, slice them in half lengthways to create 4 thinner pieces. Pat the chicken dry with paper towels.
- Brush 1 tablespoon of olive oil over all sides of the chicken breasts.
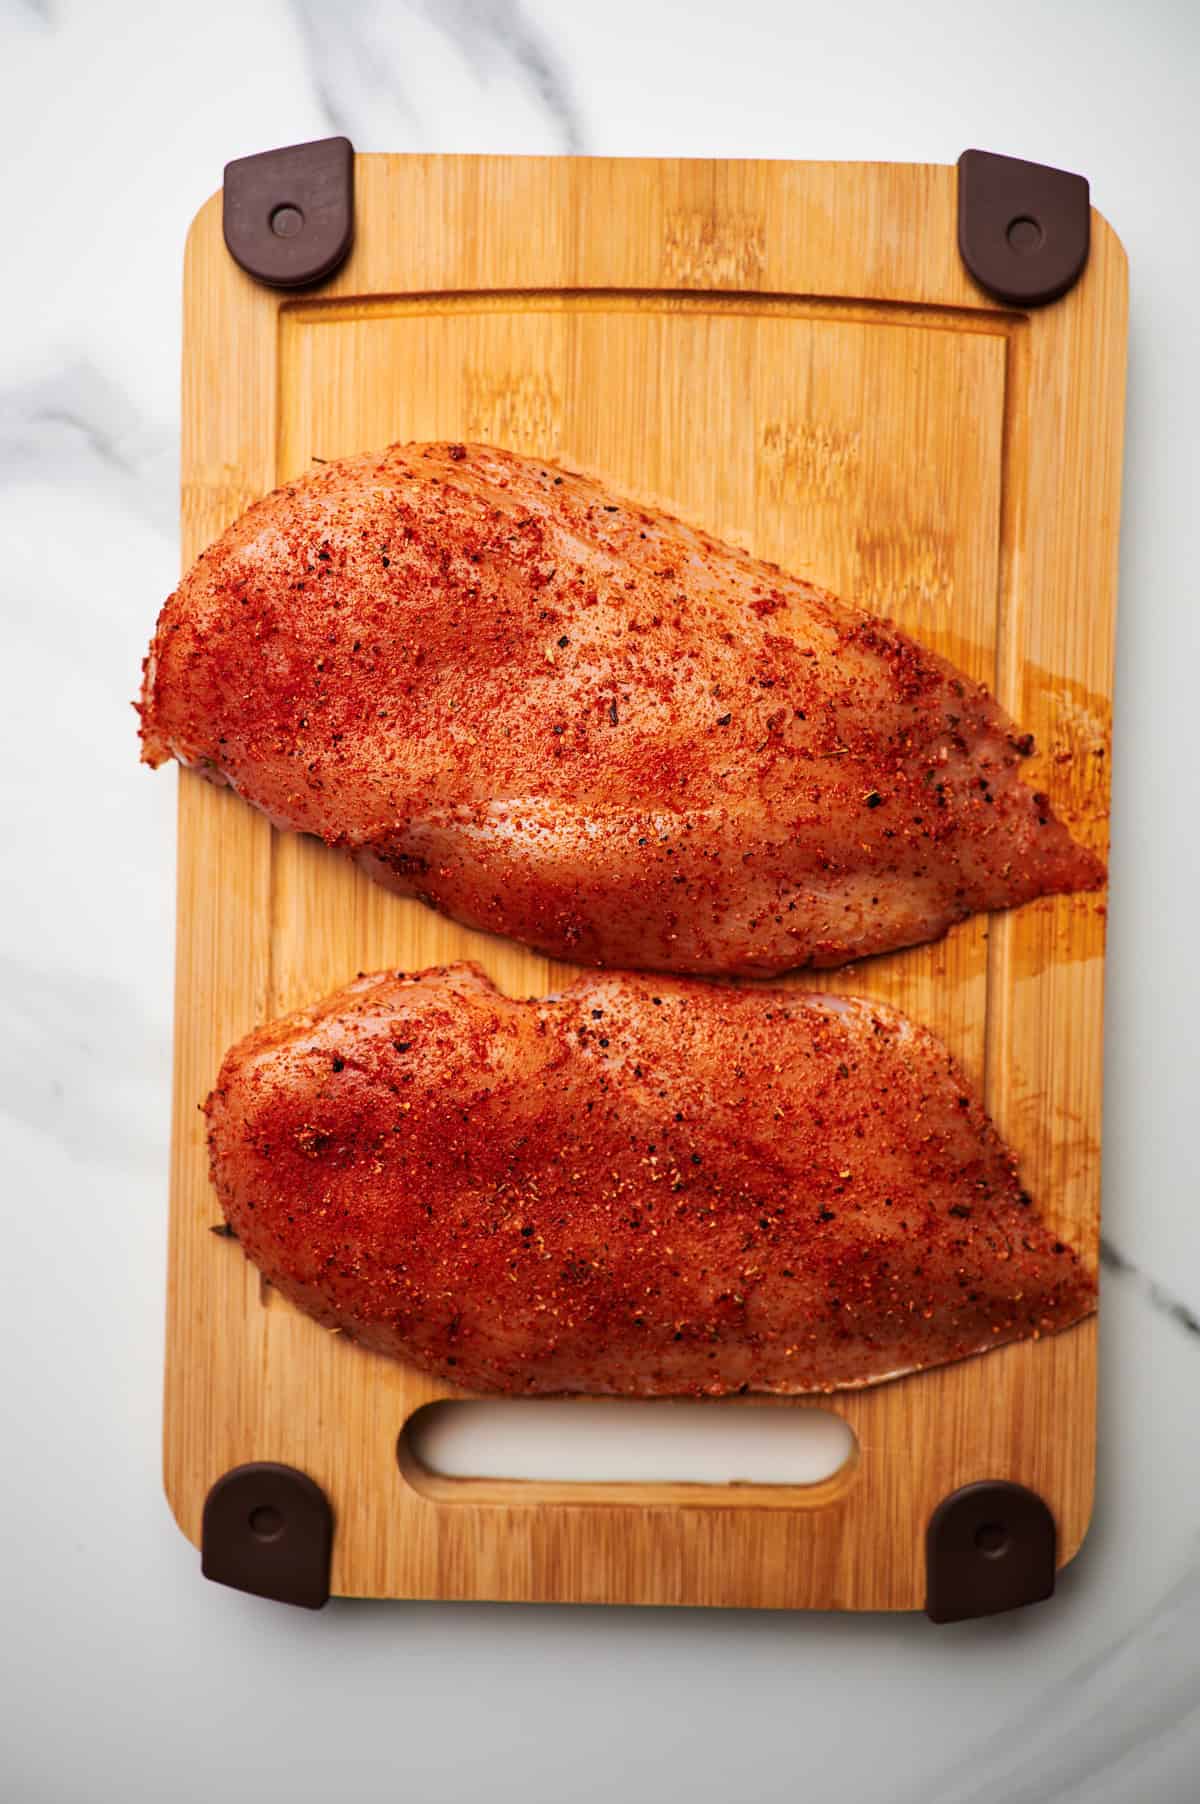
- In a small bowl, combine garlic powder, smoked paprika, onion powder, oregano, salt, black pepper, and cayenne. Stir to blend.
- Sprinkle the spice mixture evenly over both sides of each chicken breast, pressing gently to adhere.
- Heat the remaining 2 tablespoons of olive oil in a large skillet or cast iron pan over medium-high heat until hot.
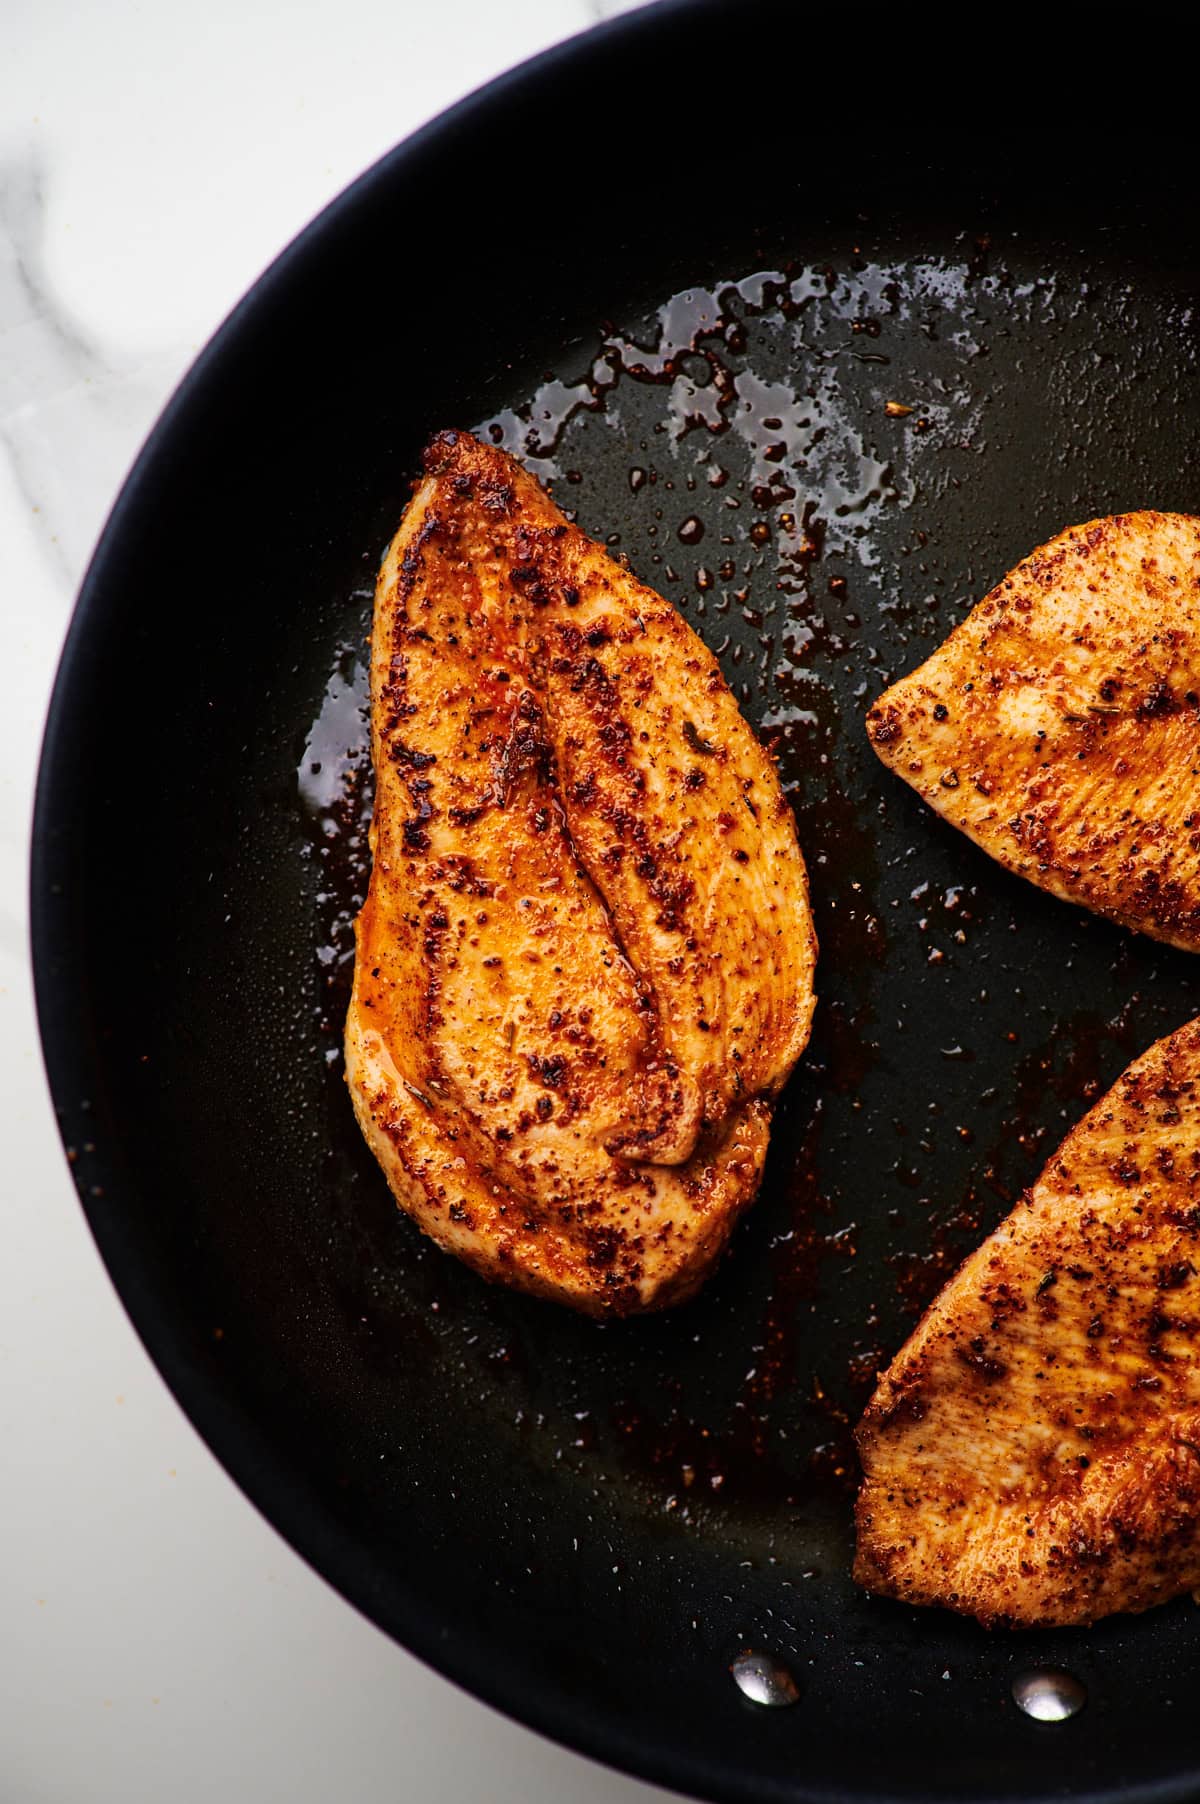
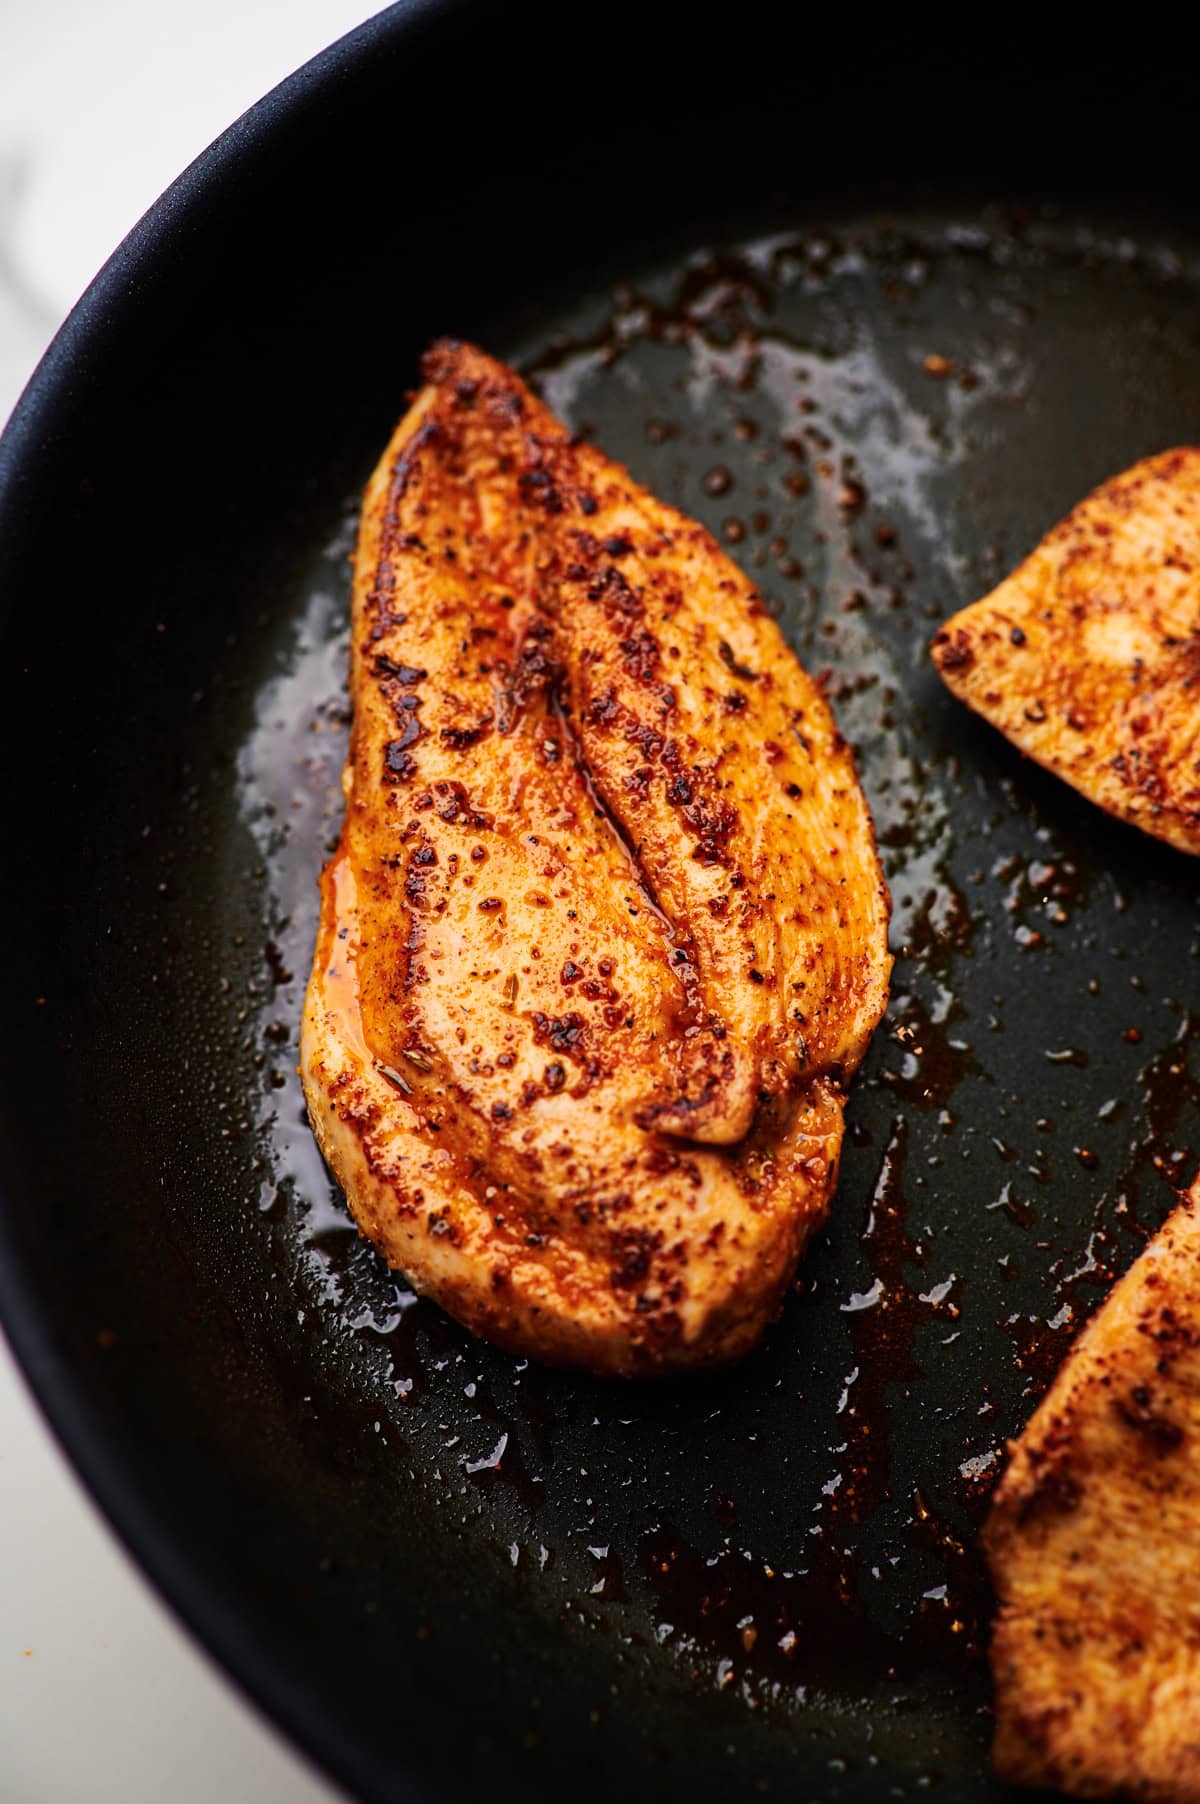
- Place the chicken smooth side down in the skillet and cook undisturbed for 5 minutes until a golden brown crust forms.
- Flip the chicken with tongs, reduce the heat to medium, and cook for an additional 2 to 5 minutes depending on thickness, until the internal temperature reaches 160°F to 165°F.
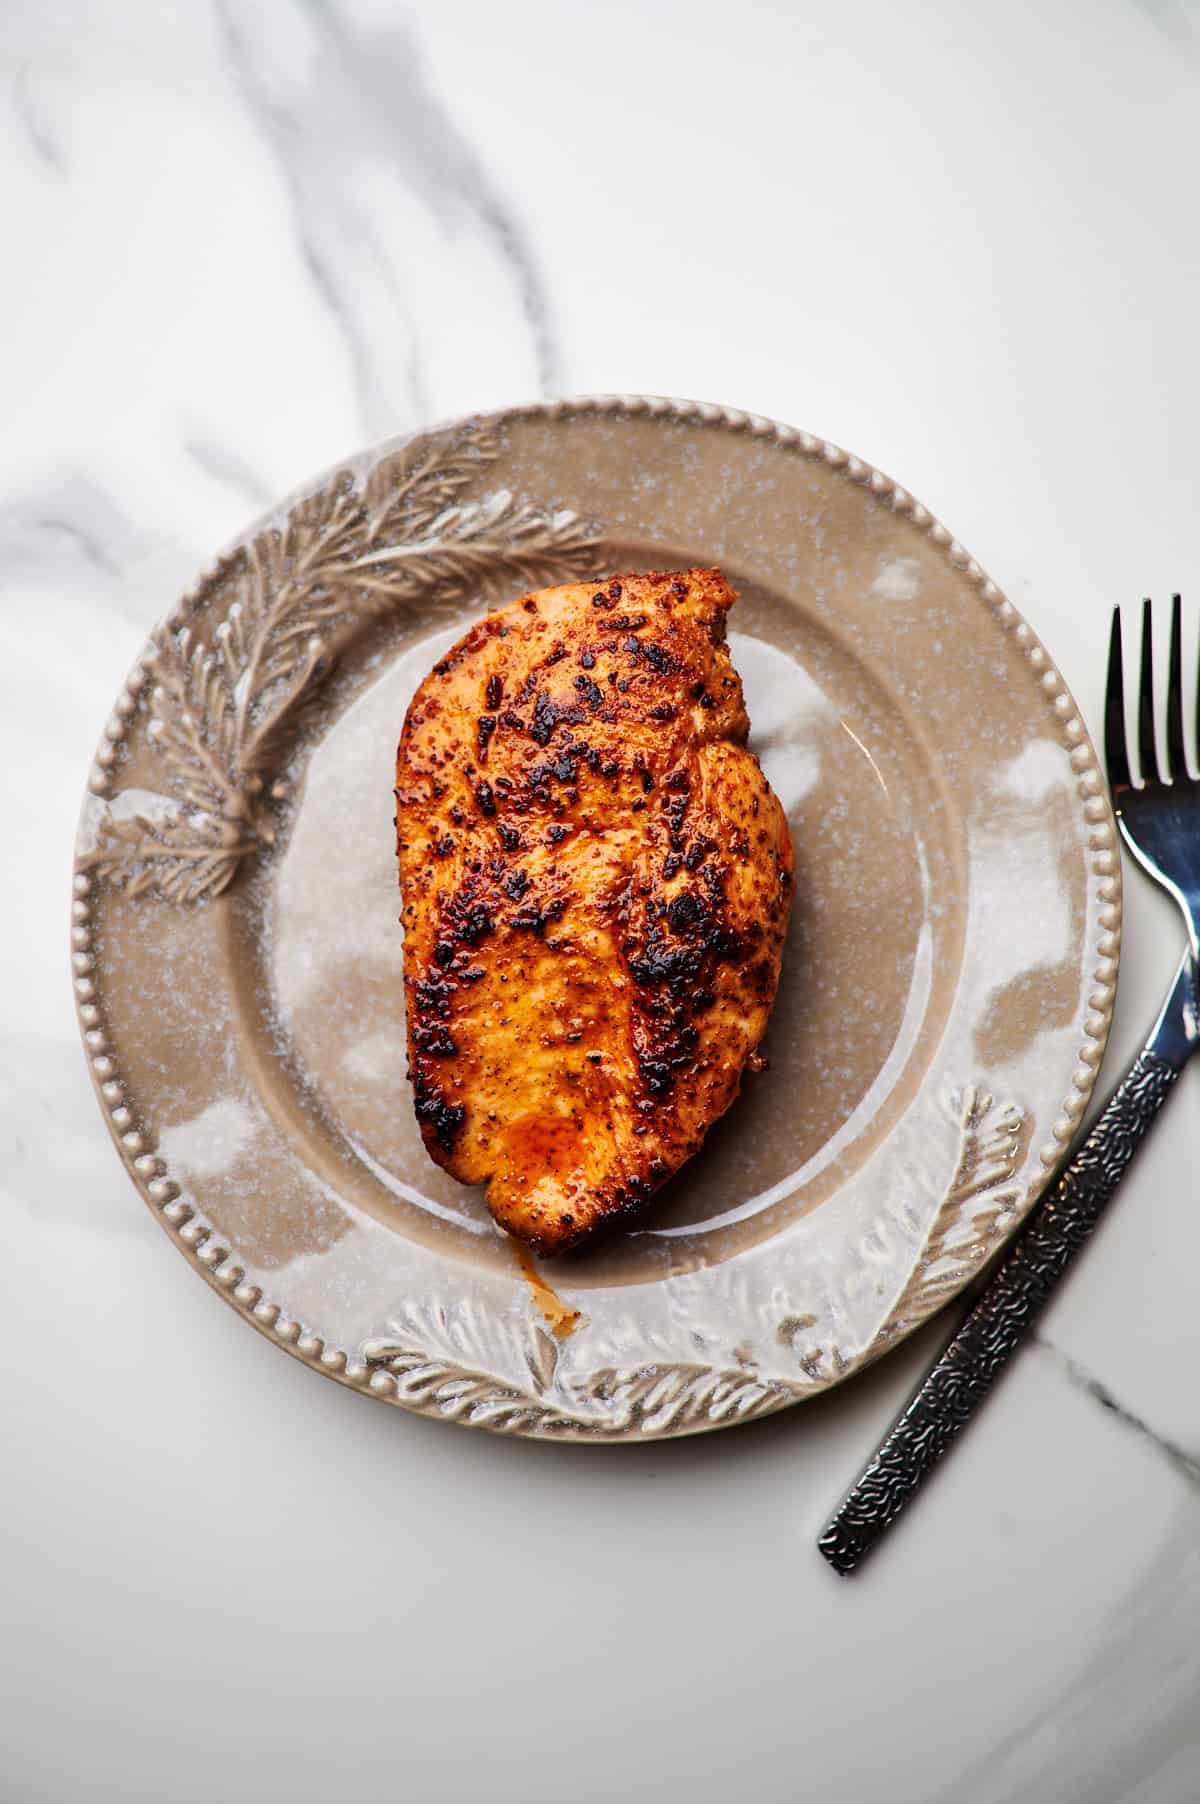
- Add the butter to the skillet, then remove the pan from the heat. Let the chicken rest in the pan for 2 minutes to absorb the butter.
- Transfer the chicken to a cutting board and let it rest for 5 minutes before slicing against the grain or serving whole.

Comments
No Comments