
You've come to the perfect site if you've ever wondered How To Make Toast In The Oven! This recipe for oven toast is a quick and easy way to use an oven to ensure that your bread is nicely toasted. For a stress-free breakfast or brunch, you can make this now or ahead of time!
This simple toast recipe is a family favorite. One of the greatest and most adaptable snacks you can prepare is this one. It's simple and a fantastic method to feed a large group of people.
The oven can handle toasting a large quantity of bread at once or if your toaster breaks.
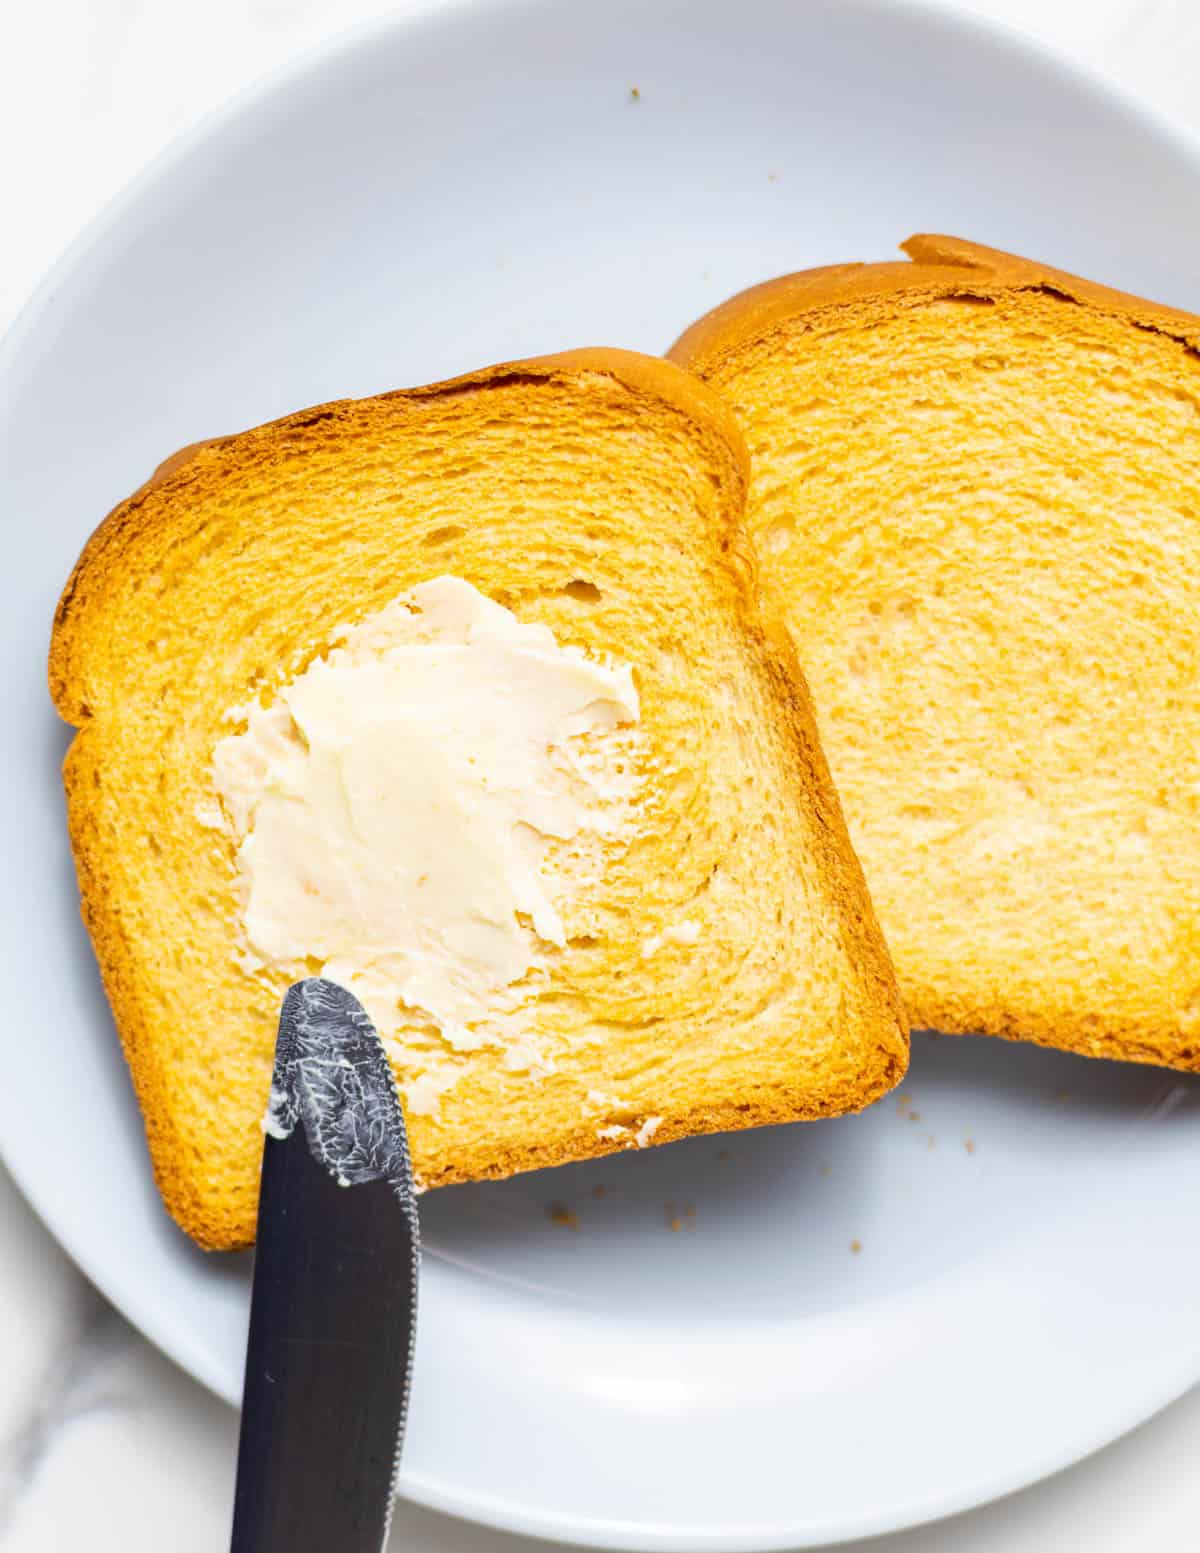
Your bread will have that beloved crisp texture and get golden on both sides. The toast can then be used to build a sandwich or spread with jam and butter.
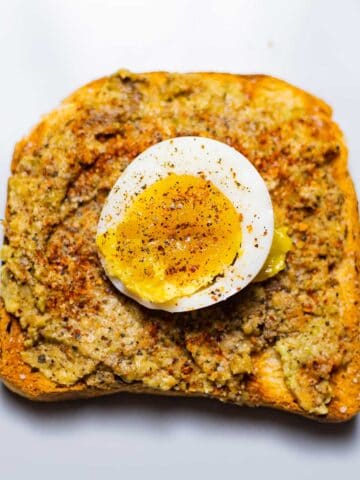
This method also is perfect to make this Avocado Toast With Egg Recipe, or you can pair it with this Carrot and Celery Soup.
Jump to:
Why you'll love this recipe
- This is the simplest and fastest recipe, regardless of whether you have a toaster on hand or would rather toast your bread in an oven!
- It's quite tasty and ideal for serving a large group of people or preparing in advance. Even the night before is an option!
- This recipe answers all of your questions about how to bake or broil bread without a toaster! Your new best friend is your oven!
- Versatile. Top with your preferred butter and preserves or use oven-toasted bread for avocado toast or garlic bread.
Main Ingredients
This basic recipe calls for only a few ingredients. Here are the major items you'll need:
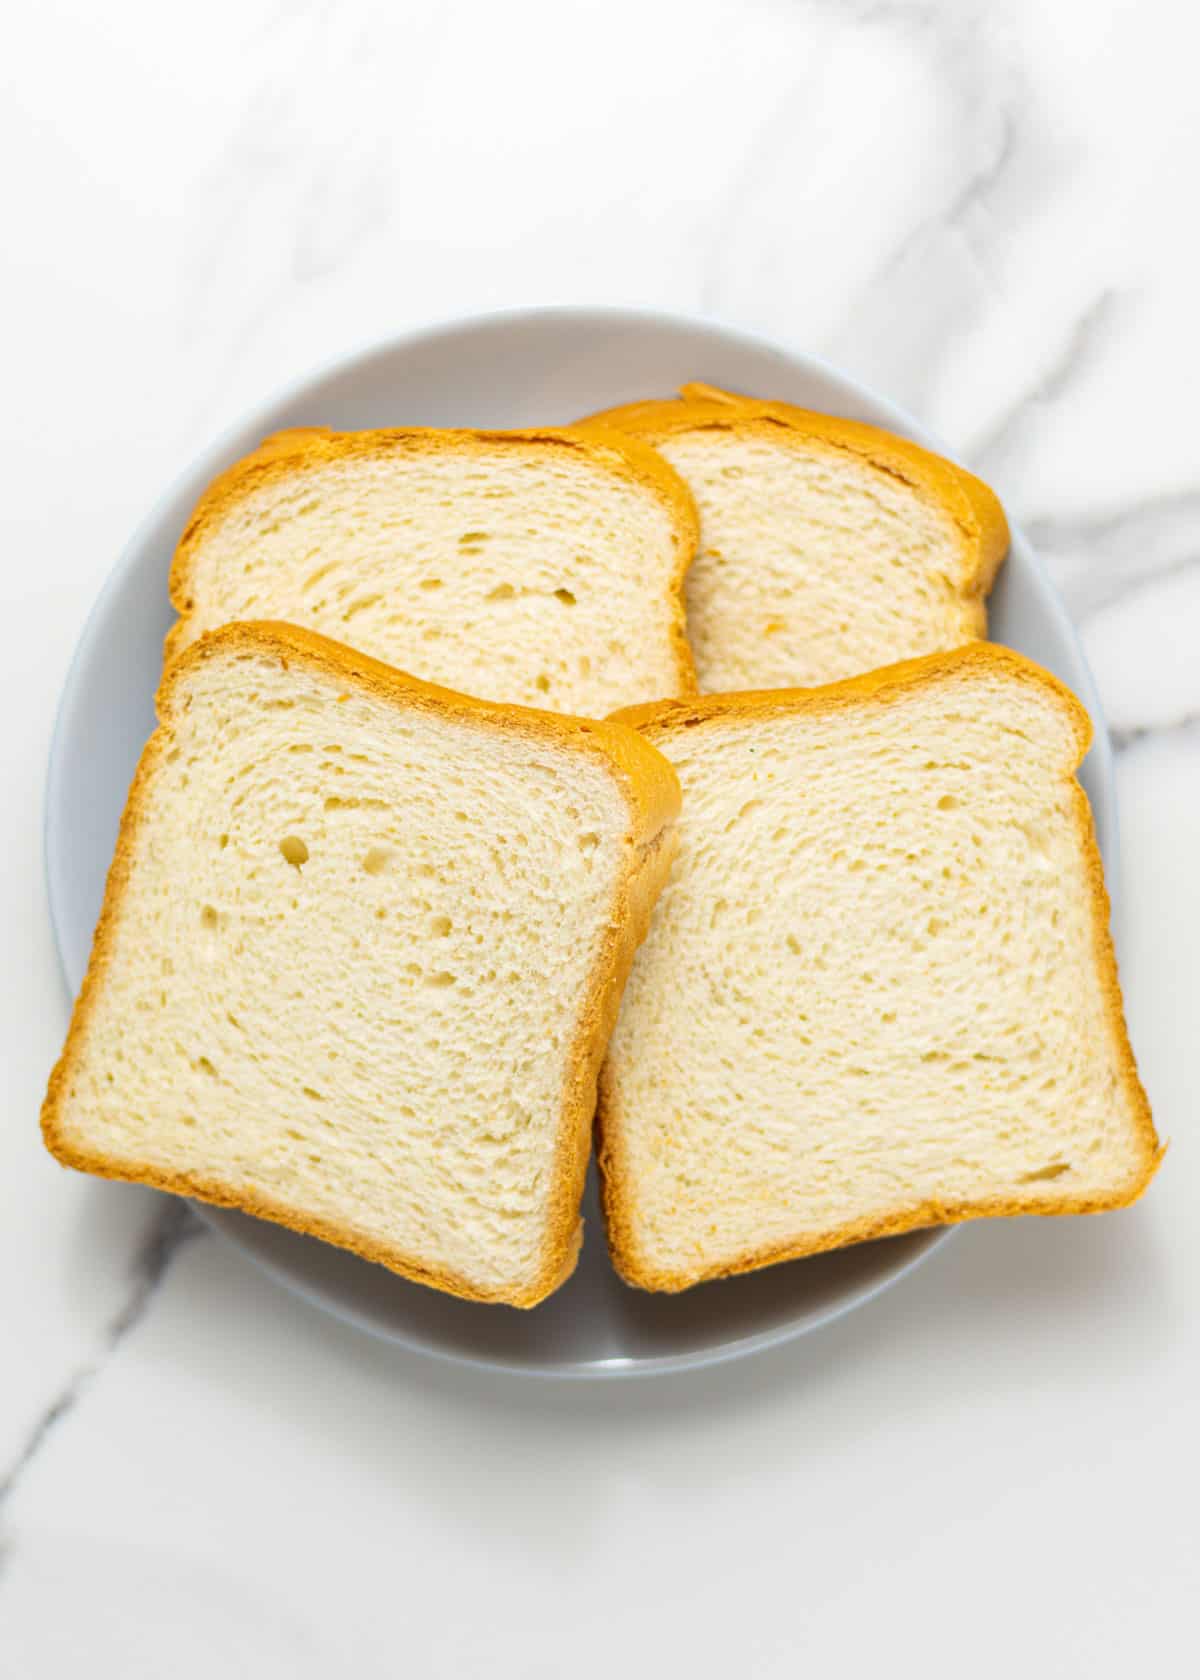
- Bread: Any kind of bread will work for toasting. Any kind of bread, such as wheat, sourdough, country, etc., can work, but we used standard white bread.
How To Make Toast In The Oven
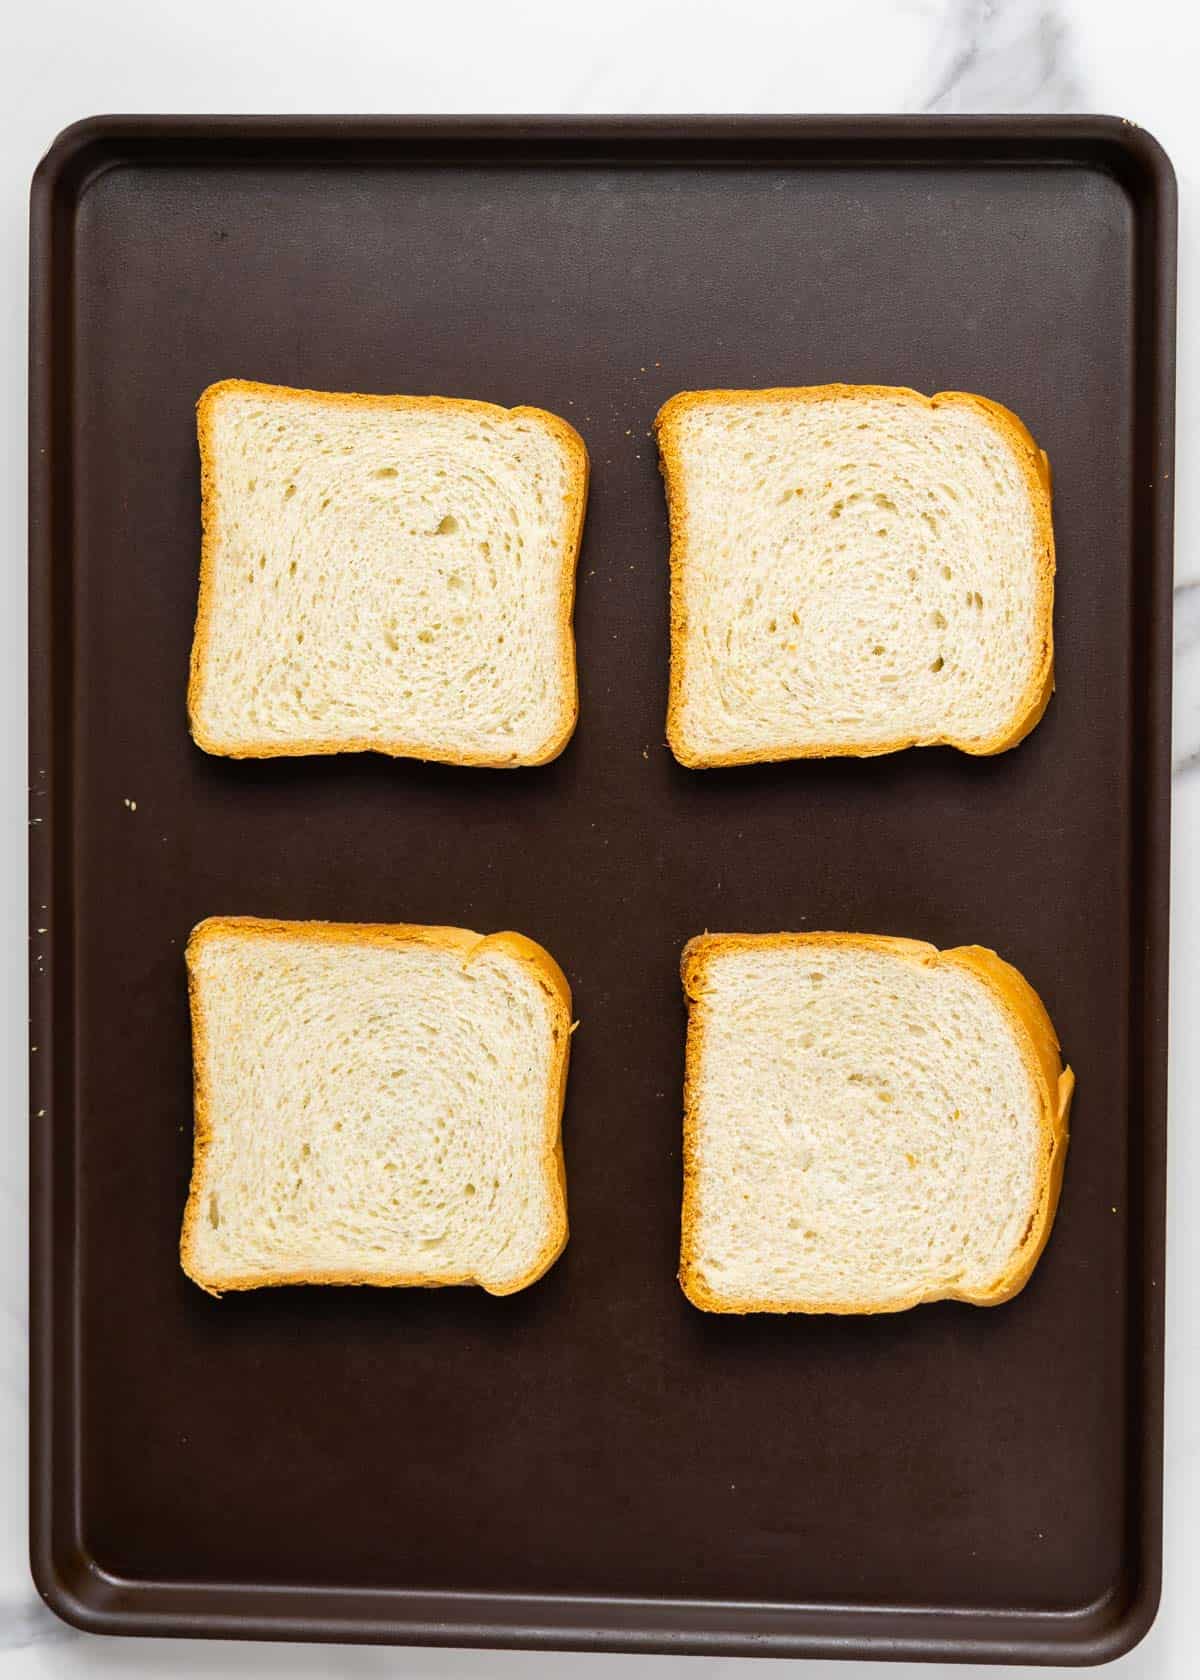
Arrange the bread slices of your choice in a single layer on the baking sheet.
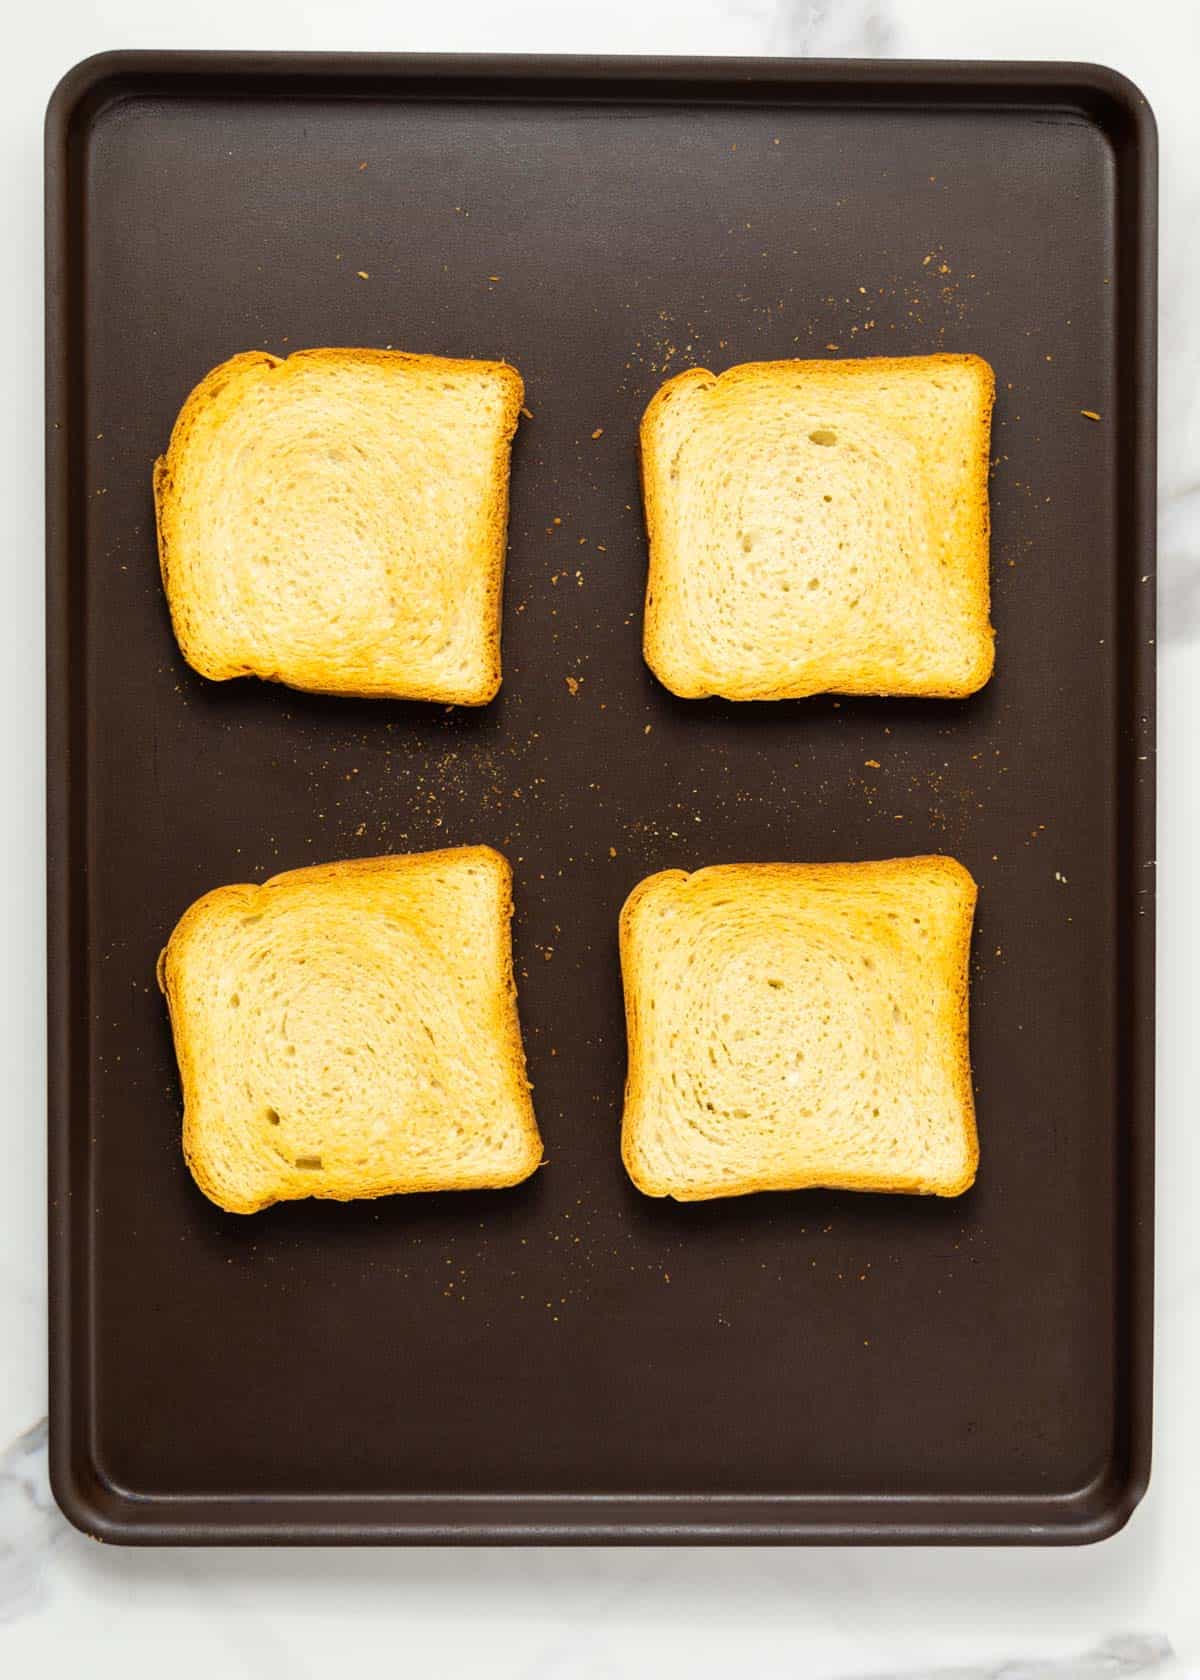
Broil for 30 seconds on high, then turn and broil for another 30 seconds. Alternately, bake for five minutes, then turn, bake for five more, and finally, remove from the oven when golden.
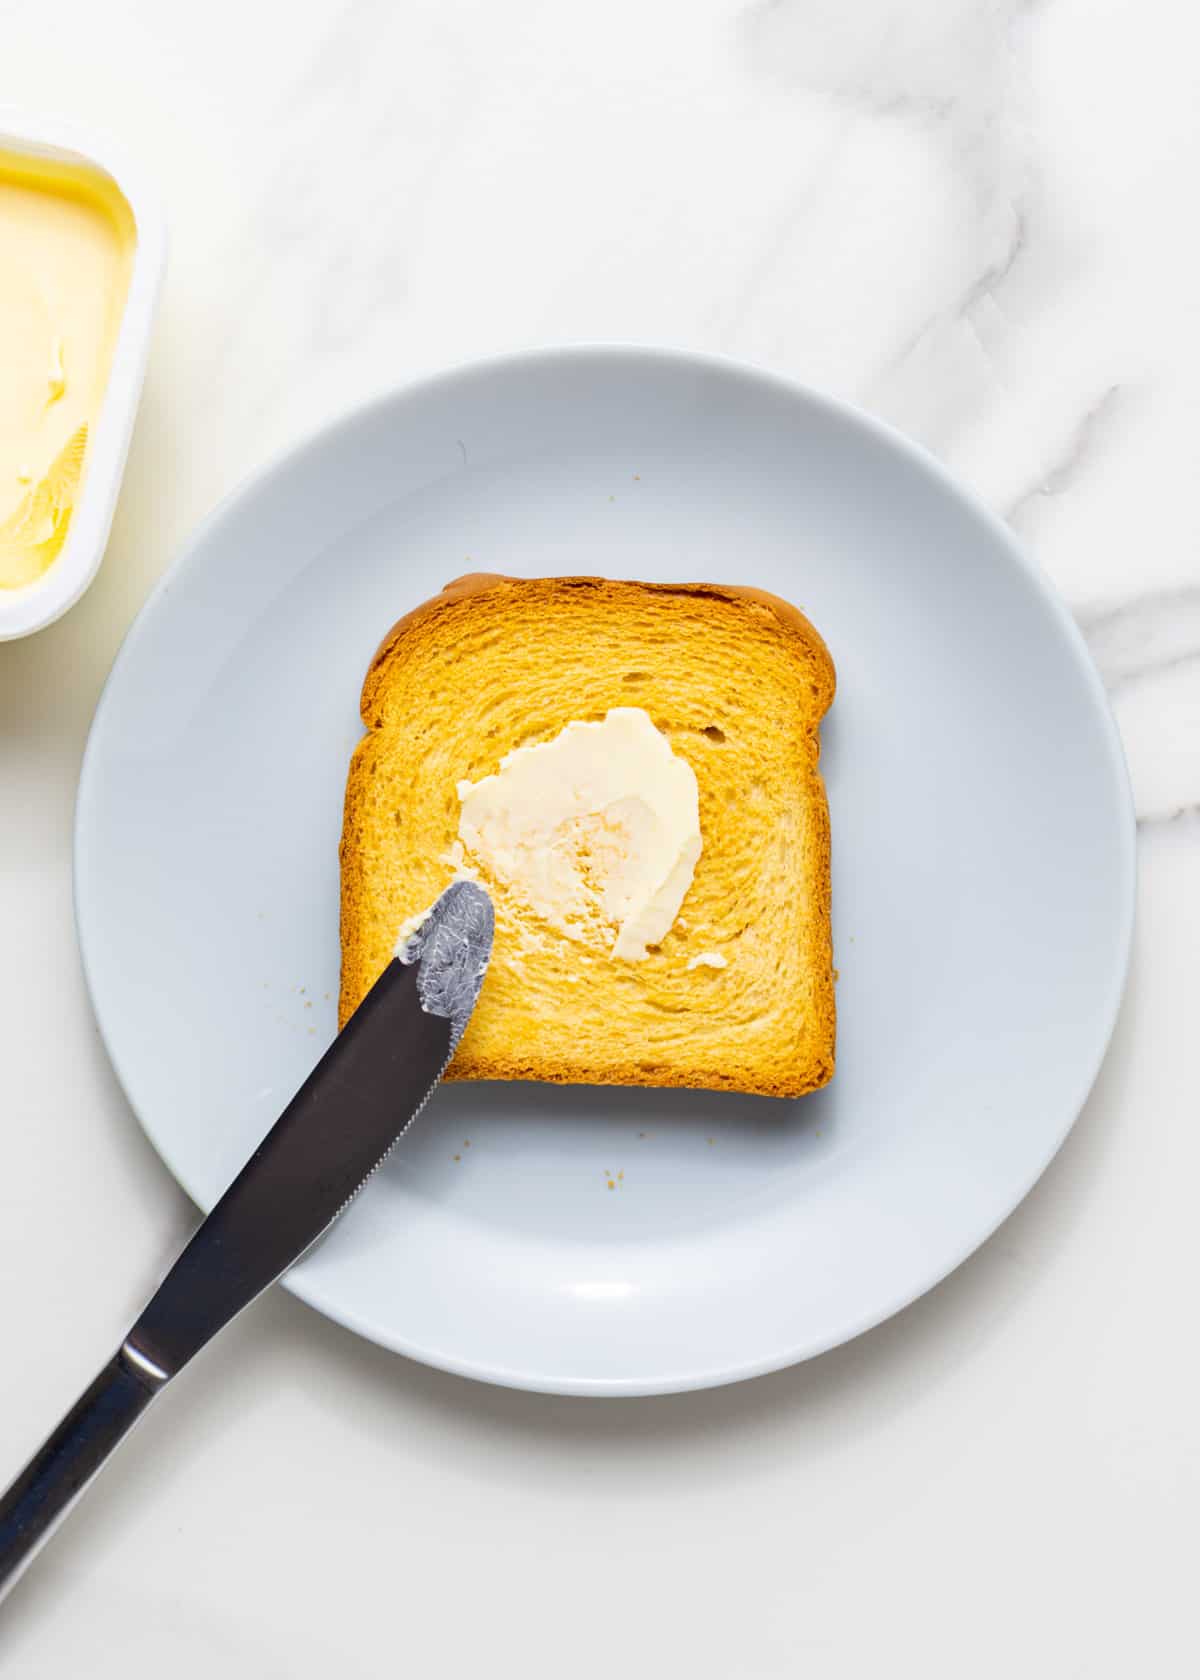
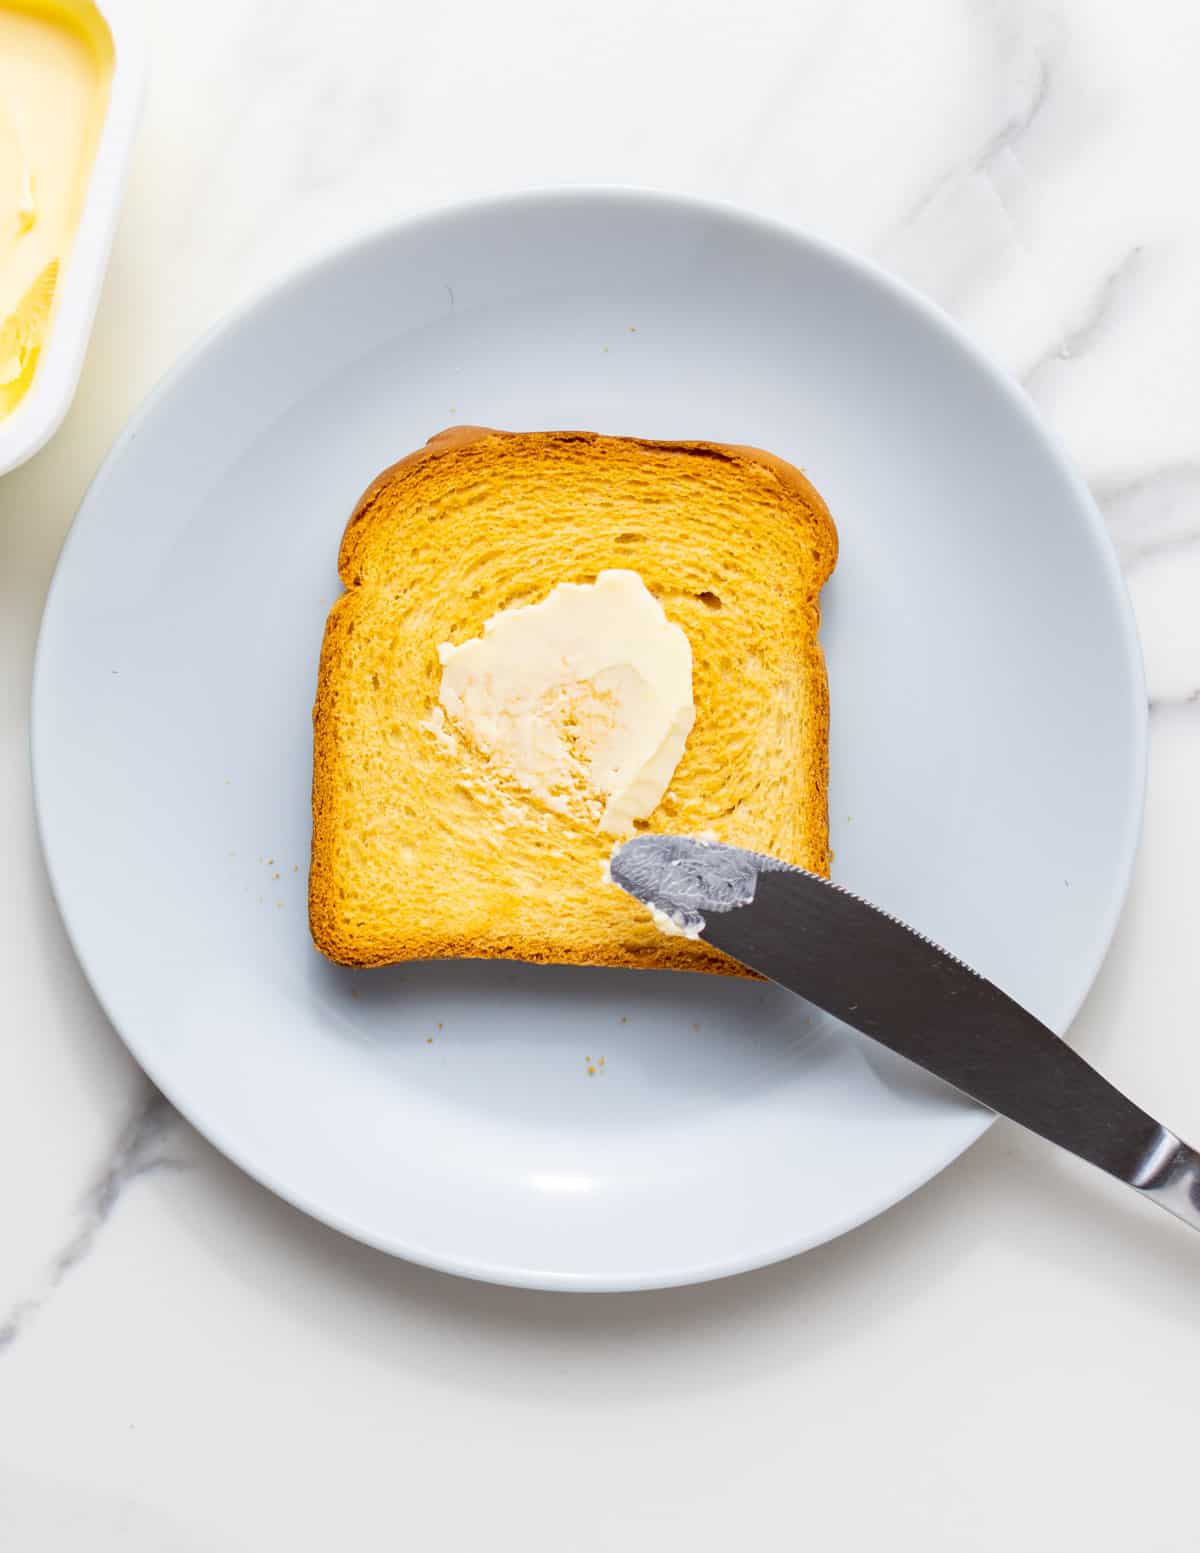
Serve the toast with your preferred toppings after letting it cool.
- STEP 1 :
Preheat the oven: Preheat your oven to 350°F.
- STEP 2 :
Arrange the bread slices of your choice in a single layer on the baking sheet.
- STEP 3 :
Toast in the oven: Broil for 30 seconds on high, then turn and broil for another 30 seconds. Alternately, bake for five minutes, then turn, bake for five more, and finally, remove from the oven when golden.
- STEP 4 :
Remove from the oven: Serve the toast with your preferred toppings after letting it cool.
Toppings for oven toast
After preparing your toast, you can add some homemade toppings:
- Peanut butter
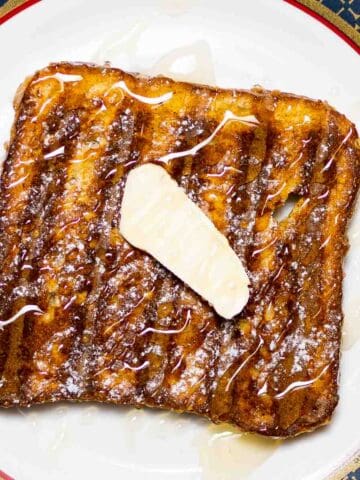
- Honey
- Maple syrup
- Cream cheese
- Avocado and cottage cheese
- Butter with jam
- Slices of banana
- Avocado mashed
- Cheese
- Fresh Berries
- Greek yogurt
- Eggs pickled
- Nutella
How to Toast Bread in the Oven Using the Broiler
Broiling or baking the bread in the oven are two ways to make toast without a toaster. The bread can burn easily, therefore you HAVE to keep an eye on it near the oven.
- Turn the oven on to high. Adjust the oven rack to its highest setting.
- Lay the bread slices on a baking sheet that hasn't been buttered.
- Broil until golden brown, 1 to 2 minutes. The bread will burn easily, so keep an eye on it the whole time it broils.
- Cook for a further 3 to 4 minutes after flipping the bread.
- Take the baking sheet out of the oven and serve with butter or maple syrup.
Tips & Tricks
- Toast doesn't have to be cooked on a sheet pan. To still allow for air movement, you can use a sheet pan with a wire rack if you don't want to bake it directly on your oven rack.
- When toasting bread in the oven, you must keep a close eye on it because it can quickly go from toasted to burned.
- The baking sheet should not be oiled.
- The best results are obtained when the rack is positioned in the center. Remember to wear your oven mitts if you need to move your oven rack in an oven that has already been warmed.
- I wouldn't recommend storing your toasted bread for longer than a day if you intend to consume it like ordinary toast. Keep it out of the refrigerator.
recipe faqs
Yes! Perfect golden bread may be rapidly toasted in the oven! The bread only needs to be put on a baking sheet and toasted for either 1 or 10 minutes, depending on the method you choose.
In 10 minutes, the bread will be lightly browned. Watch it closely to prevent burning, and if you like, turn it halfway through.
To produce quickly browned toast, I toast bread at 425.
More Delicious Breakfast Recipes


More Delicious Recipes
- Easy 3-ingredient Potato Soup
- Loaded Tea Recipes
- Power XL Air Fryer Recipes
- Kraft Food Recipes
- Leek And Mushroom Quiche (Gruyère Cheese)
- The Best Grilled Buffalo Chicken
- Air Fryer Cheesy Potato Wedges
- Super Easy Boom Boom Shrimp Recipe (Spicy!)
- EASY Lipton Onion Soup Meatloaf Recipe
- Classic Meatloaf Glaze With Brown Sugar
How To Make Toast in The Oven
INGREDIENTS
- 4 Slices of bread
Toppings
- 1 tablespoon Butter or peanut butter
- 1 tablespoon Strawberry jam
- 1 tablespoon Nutella
INSTRUCTIONS
Oven Method
- Preheat the oven: Preheat your oven to 350°F.
- Arrange the bread slices of your choice in a single layer on the baking sheet.
- Toast in the oven: Broil for 30 seconds on high, then turn and broil for another 30 seconds. Alternately, bake for five minutes, then turn, bake for five more, and finally, remove from the oven when golden.
- Remove from the oven: Serve the toast with your preferred toppings after letting it cool.
Broiler Method
- Turn the oven on to high. Adjust the oven rack to its highest setting.
- Lay the bread slices on a baking sheet that hasn't been buttered.
- Broil until golden brown, 1 to 2 minutes. The bread will burn easily, so keep an eye on it the whole time it broils.
- Cook for a further 3 to 4 minutes after flipping the bread.
- Take the baking sheet out of the oven and serve with butter or maple syrup.


veenaazmanov says
Simple, easy and perfect for a large quantity. Crispy,crunchy and quick.
TAYLER ROSS says
My toaster just quit on me and I haven't purchased a new one yet. This recipe couldn't have come at a better time!
Justine says
This is how we used to make toast when I was a kid! It's great for the weekends when everybody is eating breakfast together - can make all the toast at once!
Kushigalu says
Useful tips on how to toast perfectly in oven. Thanks for sharing/
dana says
This was a lifesaver when we hosted a large family brunch! Thanks so much! Turned out great.
Savita says
Definitely, a nice informative post learned a few great tips. Thanks for sharing.
Shadi Hasanzadenemati says
Love how easy this recipe is. Can’t wait to try it this weekend.thank you for the recipe!